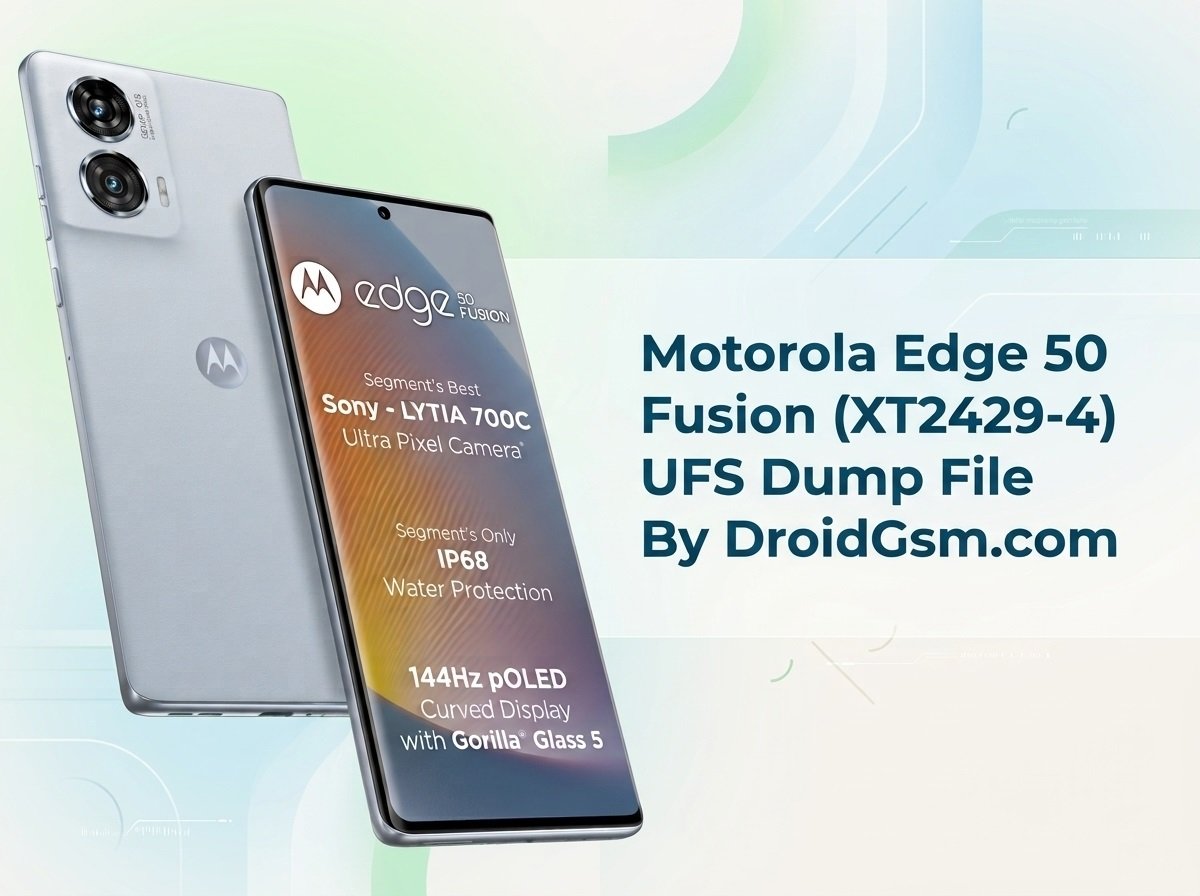
Motorola Edge 50 Fusion (Model: XT2429-4) Repairing Dead Boot or Hang-On-Logo
Repairing a dead or hang-on-logo Motorola Edge 50 Fusion (Model: XT2429-4) requires advanced hardware level servicing, specifically involving the reprogramming of its UFS storage chip. When a device experiences a corrupted partition table, failed over-the-air (OTA) updates, or bad firmware blocks, it often falls into a dead boot state (showing no signs of life or Qualcomm HS-USB QDLoader 9008 mode) or gets stuck indefinitely on the startup logo.
Below is a comprehensive technical guide and overview for mobile software technicians on using a UFS Dump file to revive this specific device using professional hardware programmers.
Motorola Edge 50 Fusion (XT2429-4) Specifications:-
Before initiating chip-level work, it is essential to understand the underlying hardware architecture of the Motorola Edge 50 Fusion (XT2429-4) to configure your programming software accurately.
-
- Codename: Cusco / Cuscoi
- Processor (CPU): Qualcomm Snapdragon 7s Gen 2 (4 nm)
- Storage Type (ROM): UFS 2.2 storage chip
- RAM Configuration: 8GB / 12GB LPDDR4X
- Operating System: Android 14 (Hello UI)
- USB Connectivity: Type-C USB 2.0 (supports OTG and Qualcomm EDL interface)
Symptoms of UFS Corruption in XT2429-4:-
-
- Hang on Logo: The device freezes on the initial Motorola boot screen and refuses to proceed to the system animation.
- Dead Boot / Auto 9008 Port: When connected to a PC via USB, the device does not vibrate or light up, but the device manager identifies it instantly as
Qualcomm HS-USB QDLoader 9008without any key combinations. - Fastboot Bootloader Errors: The screen boots directly to a critical error mode displaying message blocks like “boot failure” or “baseband error”.
Step-by-Step Reprogramming Process via EasyJTAG Plus or F64 Ultra Box:-
Technical Disclaimer:- This procedure requires micro-soldering experience (IC Reballing) and professional equipment. Proceed with caution to avoid permanently damaging the logic board.
Step 1: Download the Tested UFS Dump File
You need a reliable, verified dump file extracted from a working XT2429-4 unit. Ensure the firmware version of the dump matches or is higher than the version previously installed on the dead device to avoid anti-rollback issues.
Required Files:-
LUN0, LUN1, LUN2, LUN3, LUN4, LUN5.Download Motorola Edge 50 Fusion (XT2429-4) UFS Dump
Password:- MotoDroidGsmXT2429Edge50
Step 2. Chip Desoldering & Preparation:-
-
- Disassemble the device and safely remove the motherboard.
- Apply high-quality flux around the UFS chip. Using a hot air rework station (set to roughly 340°C–360°C depending on your station), carefully desolder the UFS chip from the PCB.
- Clean the black glue and remaining solder pads on both the motherboard and the UFS chip.
- Reball the UFS chip using a dedicated UFS BGA stencil.
Step 3. Programming via EasyJTAG Plus / F64 Ultra Box:-
-
- Insert the reballed UFS chip into the compatible UFS socket of your programmer (EasyJTAG Plus or F64 Ultra Box).
- Launch the box software (e.g., EasyJTAG Plus UFS Tool Suite or F64 Tool interface).
- Select the correct voltage settings (typically VCC = 2.95V, VCCQ2 = 1.8V) and click Detect / Check UFS.
- Wiping the chip without a backup permanently destroys the IMEI, network signal, and Wi-Fi. A generic dump file will boot the phone, but the unique security keys will be gone forever.
- Read/Backup Essential Partitions:- modemst1, modemst2, fsg, fsc, persist, hob, dhob.
- Ensure the chip logs read successfully, noting the storage size and health report (Health Report should read Normal or 0%–10% used).
- If the chip has bad sectors or a corrupted partition table, perform a UFS Wipe / Erase.
- Go to the “Write” tab, load your downloaded XT2429-4 UFS Dump, and allocate the LUN files to their respective slots.
- Click Write and wait for the verification process to finish successfully.
Step 4. Final Reassembly and Flashing:-
- Remove the chip from the socket and re-solder it onto the Motorola Edge 50 Fusion motherboard.
- Allow the board to cool down completely, re-seat it in the chassis, and plug in the battery.
- The device should now boot into Fastboot Mode or show a charging icon.
- Finalise the repair by flashing the official Motorola stock ROM firmware using the Motorola Rescue and Smart Assistant (RSA) Tool or standard fastboot commands to rebuild individual security partitions (
modem,fs,persist) unique to the device.