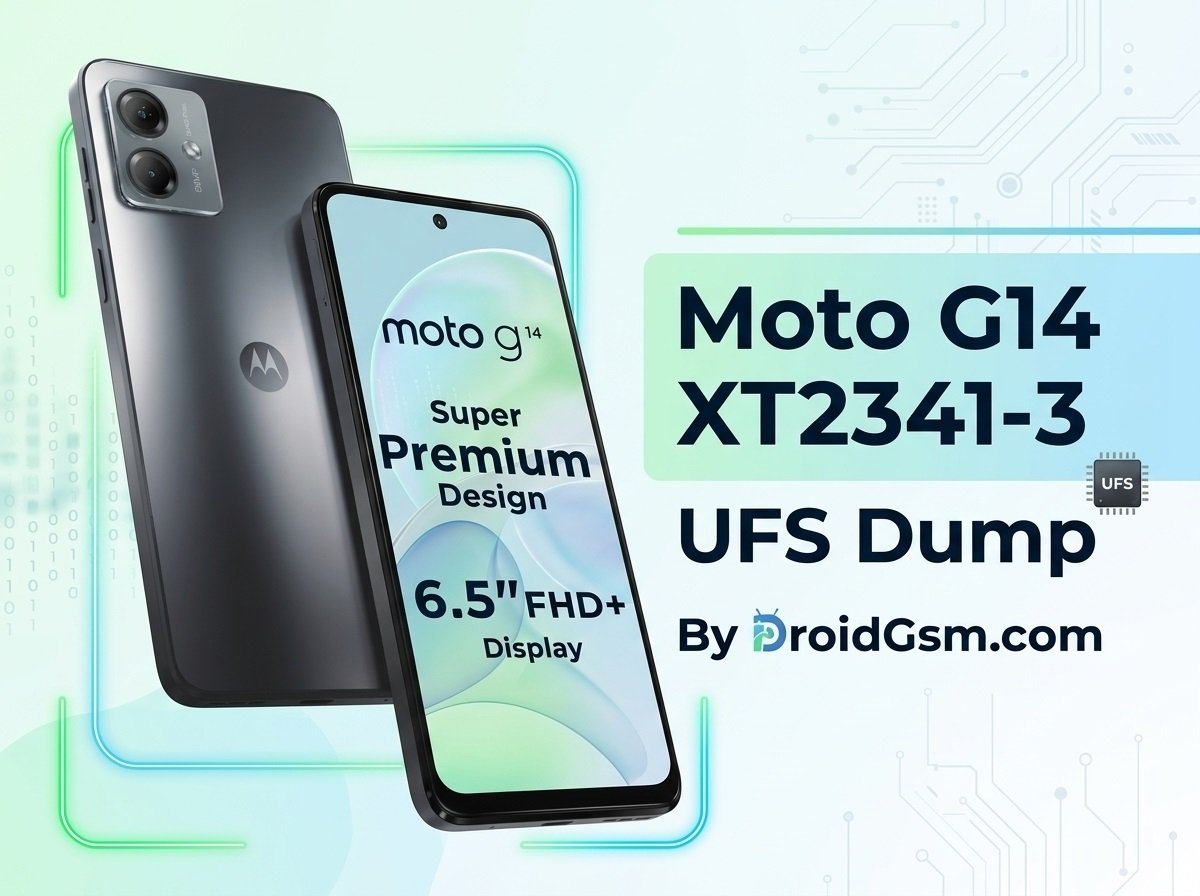
Motorola Moto G14 (XT2341-3 India) Dead Boot Repair
If your Motorola Moto G14 is completely dead (won’t turn on, won’t charge, and isn’t recognized by your computer) due to a bad software flash or a failed format, you can fix it by reprogramming its internal storage chip (UFS storage) using the Easy-JTAG Plus Box and the F64 Ultra Box/Socket.
Here is a quick snapshot of the Motorola Moto G14 (XT2341-3) specifications:-
-
- Display: 6.5″ Full HD+ IPS LCD
- Processor: Unisoc Tiger T616 (12nm)
- Storage: 128 GB UFS 2.2
- RAM: 4 GB or 8 GB
- Rear Camera: 50 MP + 2 MP Dual
- Front Camera: 8 MP
- Battery: 5000 mAh with 20W charging
- Audio: Stereo speakers with Dolby Atmos
- Network: 4G LTE (Dual SIM)
What You Need:-
-
- Easy-JTAG Plus Box with matching software installed.
- F64 Ultra Box / Socket V2 to hold the chip.
- Soldering Tools: Hot air gun, soldering iron, flux, solder paste, and a reballing stencil.
- A working Moto G14 UFS Dump File (download link below).
Simple Step-by-Step Fix
Step 1:- Remove the Storage Chip
-
- Take apart the phone and remove the motherboard.
- Use a hot air gun (around 350°C) to carefully heat and melt the solder holding the UFS storage chip down.
- Lift the chip off the board and clean off the old solder from both the board and the chip.
Step 2:- Reball and Connect the Chip
-
- Put fresh solder paste on the chip using a matching stencil to recreate the tiny solder balls on the bottom (reballing).
- Place the chip inside the F64 Ultra Socket and connect it to your Easy-JTAG Plus Box.
Step 3:- Reprogram the Chip
-
- Open the EasyJTAG Plus UFS Tool on your PC.
- Select UFS mode and click Check UFS / Detect to make sure the computer reads the chip correctly.
- Go to the Write tab, load your downloaded Moto G14 Dump File, and click Write to flash the fresh, working software directly onto the chip.
Step 4:- Put It Back Together
-
- Take the chip out of the socket and solder it back onto the phone’s motherboard.
- Let the board cool down, then plug it into your computer via a USB cable.
- Your computer should now recognize the phone. Use your standard flashing tool to install the final official software, and the phone will power on normally.
Download Moto G14 (XT2341-3 India) UFS Dump
Use this tested file to repair your bricked phone:-
Download Moto G14 (XT2341-3) Verified UFS Dump File
Password:- MoToXTDroidGsm2341-3
Note: If you can still read the original chip, always back up the Security files before erasing it. This keeps your original IMEI number and network signal safe.