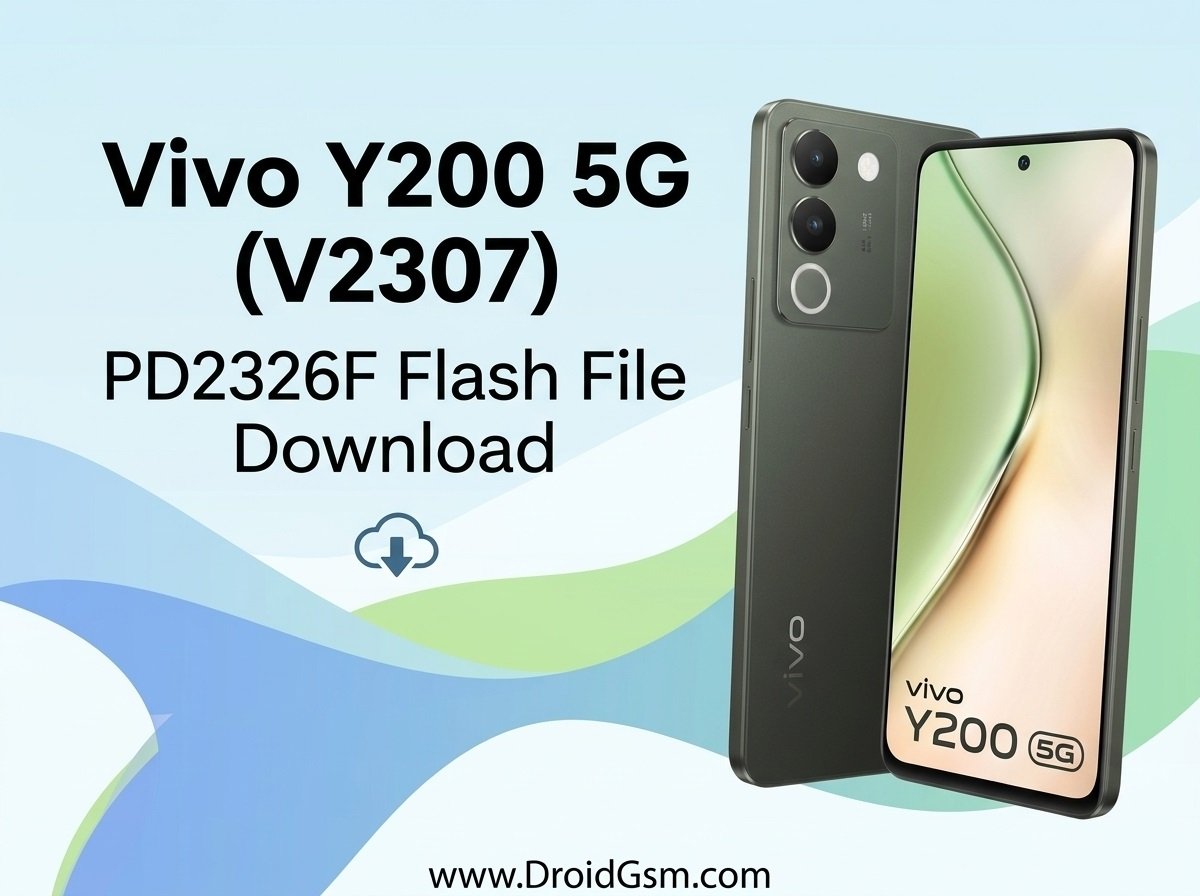
Vivo Y200 5G V2307 vivo Y200 5G PD2326F Flash File
You can download the official firmware and OTA update files directly from the link below:-
- Device Model:- Vivo Y200 5G (PD2326 / PD2326F)
- Processor:- Qualcomm Snapdragon
- Latest File Example:- PD2326F_EX_A_13.0.6.20.W30.V000L1_vivo_qcom_LA.QSSI.13.0.R1.11.00.00.913.005.00_system_split.
- File Type:-
.tar.gz/.7zcontaining system split and configuration files.
Official Flash File Fixing:-
- Bootloops & Hanging:- If your device is permanently stuck on the Vivo logo or keeps restarting infinitely.
- Soft Bricks:- If a failed system update, root attempt, or custom software modification left the phone unresponsive.
- System Component Crashes:- Errors like “Unfortunately, System UI has stopped” or app crashes that don’t go away after a factory reset.
- Severe Malware Infections:- Spyware or viruses embedded deep within the root files that normal antivirus or resets cannot erase.
- Forgotten Screen Locks:- It wipes user data, effectively bypassing forgotten patterns, PINs, or FRP (Factory Reset Protection) barriers.
Requirements for Flashing:-
- PC or Laptop:- A Windows computer with a stable USB connection.
- Battery Charge:- Ensure your phone battery is charged above 50% to prevent unexpected shutdowns.
- Data Backup:- Back up all personal files, photos, and contacts, as flashing completely wipes internal storage.
- Drivers:- Install the appropriate Qualcomm USB Drivers on your computer.
- Flash Tool:- Use a compatible tool like the QFIL Flash Tool or QPST Flash Tool designed for Qualcomm devices.
Basic Flashing Steps:-
- Download and extract the stock firmware package on your computer.
- Install the Qualcomm USB drivers if they are not already installed on your system.
- Open the QFIL or QPST flashing utility.
- Power off your phone and connect it to the PC using a USB cable while holding the correct bootloader/test point keys if required by the Qualcomm loader.
- Load the firmware files into the tool and click the download or upgrade button to start the process.
- Disconnect the device once you receive a success notification, then turn the phone back on.
PD2326F_EX_A_13.0.6.20.W30.V000L1 (OTA)
PD2326F_EX_A_13.0.6.20.W30.V000L1_vivo_qcom_LA.QSSI.13.0.R1.11.00.00.913.005.00_system_split
Password:- ViVOY2005GDroidGsmPD2326F
For modern devices featuring high security and UFS storage chips (like the Vivo Y200 5G (V2307) (PD2326F)), utilizing tools such as the F64 Box (Flash64 Ultra Suite) or the EasyJTAG Plus Box is required for flashing. Because newer firmware versions tightly lock down the Qualcomm/Dimensity EDL or Preloader ports via server authentication, standard USB flashing often fails or results in a bricked state.
Step-by-Step Programming via F64 Box / EasyJTAG
Step 1:- Interface Connection & Device Identification
- Secure the chip in your UFS adapter socket or link the ISP kit jumpers to the box.
- Launch your software tool interface (Flash64 Ultra Suite or EasyJTAG Plus UFS Tool Suite).
- Configure the voltage supply parameters appropriately (typically VCC = 2.8V and VCCQ = 1.8V).
- Click Identify / Connect Device. Verify that the tool accurately populates the UFS LUN partitions, partition geometry (typically 6 distinct LUNs), storage capacity, and Android info.
Step 2:- Critical Backup (Security & Calibration Data)
- Do not wipe the chip immediately, You must retain the distinct individual radio identity parameters of the device.
- Read and extract the security/network partitions:
sec,sec_efs,modem,modemst1,modemst2,fsg, andpersist. - Ensure the auto-generated Device Information File and device configuration configurations are verified and securely saved to a dedicated local directory.
Step 3:- Wiping & Reconfiguring Corrupted Storage
- If the boot loop was caused by partition layout corruption (commonly seen after improper FRP extraction tool execution), run a global device format or clear the distinct
frp,userdata, andpersistblocks. - If your tool verifies the health state of the internal sectors as stable, you do not need to rewrite the UFS descriptor attributes or LUN allocation config layout.
Step 4:- Flashing Clean Firmware (Full Reprogramming)
- Source a tested, official Vivo Y200 5G Factory Scatter/Dump Flash File corresponding to your region.
- Map out the target file inside the tool dashboard. Ensure it writes the structural boot image schemas across the respective LUN nodes.
- Execute the Write/Flash command. Ensure the process runs continuously until the software validates a
100% Write Operation Successfulmessage.
Step 5:- Restore Individual Calibration Files & Final Reassembly
- Write your previously backed-up local device information block and distinct security/IMEI structural components back to the storage IC.
- Unmount the UFS chip from the adapter socket or safely desolder the fine ISP jumper wires.
- Re-solder the chip cleanly onto the logic board if it was removed.
- Connect the system board back into the chassis frame, link up the display ribbon and battery lines, and hold down the power cycle buttons.
- The phone should cycle past the initialization phase, stay past the initial bootloader display graphic, and cleanly launch the standard Funtouch OS initial environment setup wizard.