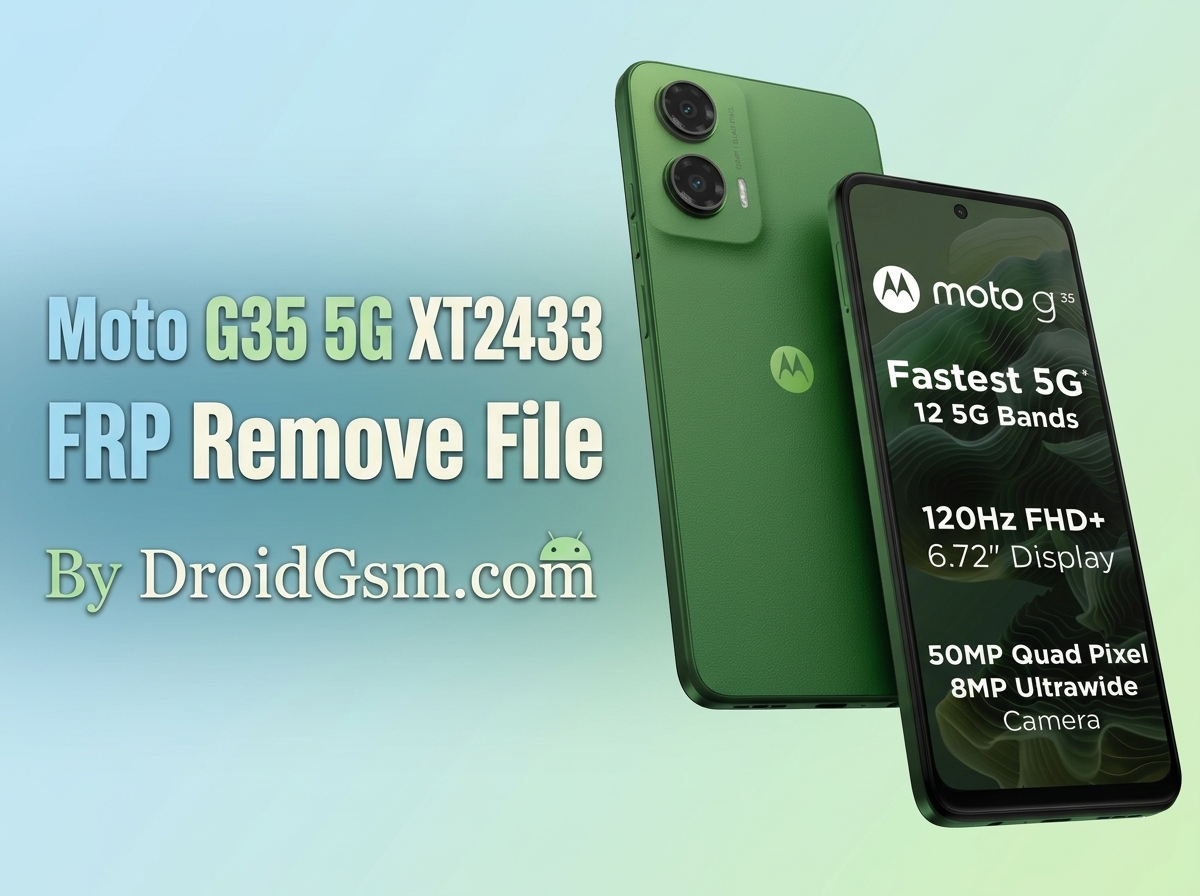
Moto G35 5G XT2433 FRP Remove File And Tool
Wiping the Google account verification lock on the Motorola G35 5G (XT2433) requires specific hardware tools due to its Unisoc chipset layout. After a hard reset, the Factory Reset Protection (FRP) triggers. If you lose access to the synced account credentials, standard manual bypasses will not work on newer security patches.
This guide details how to resolve the FRP lock using specialized tools, followed by a quick look at the phone’s primary hardware specifications.
Motorola Moto G35 5G XT2433 Quick Specifications:-
The Motorola G35 5G serves as a budget entry option focused on display fluidness and baseline 5G capabilities.
-
- Processor:- Unisoc T760 (6nm Octa-core CPU).
- Display:- 6.72-inch LTPS LCD, FHD+ resolution, 120Hz Refresh Rate, and Gorilla Glass 3 protection.
- Storage & RAM:- 128GB or 256GB UFS 2.2 internal storage paired with 4GB or 8GB LPDDR4X RAM.
- Rear Cameras:- 50 MP Main sensor (f/1.8) alongside an 8 MP Ultrawide lens.
- Front Camera:- 16 MP Selfie camera.
- Battery & Charging:- 5000 mAh capacity battery supporting 18W fast wired charging.
- Operating System:- Android 14 out-of-the-box with the Motorola Hello UI layer.
- Added Perks:- IP52 dust and splash resistance rating, side-mounted fingerprint sensor, and Dolby Atmos dual stereo speakers.
Motorola G35 5G FRP Removal Guide:-
Because the Moto G35 5G runs on a Unisoc T760 chipset, the security structure prevents simple software-only bypass methods. Hardware-level interaction is necessary to clear the persist sector containing the lock information.
Required Files & Software
-
- FRP File & Scatter:- A model-specific
persist.imgconfiguration or scatter payload. - Flashing Tool:- UnlockTool (highly recommended and universally supported) official SPD Research Download Tool.
- Drivers:- Latest Unisoc (SPD) USB Drivers installed on a Windows PC.
- FRP File & Scatter:- A model-specific
Step-by-Step Instructions:-
Disclaimer:- Opening a phone shell requires careful handling. Proceed at your own risk.
Step 1: Prepare the Device & Hardware Test Point:-
-
- Power down the Motorola G35 5G completely.
- Carefully remove the back panel shell.
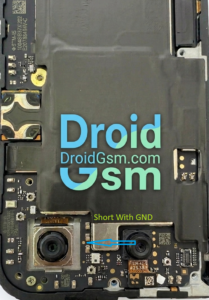
- Locate the EDL / Hardware Test Point on the logic board.
- You will need to short this specific pin to the ground (shielding metal) using a pair of tweezers when plugging it in to force the chipset into bootloader interface mode.
Step 2: Configure the Software:-
-
- If using UnlockTool (Easiest Method):
-
- Open UnlockTool and head to the Motorola tab.
- Search for and select the Moto G35 (XT2433) profile.
- Click on the [SPD] Erase FRP option.
-
- If using SPD Research Tool:
-
- Load the customized
PACfile payload containing the firmware configurations. - Uncheck all images except
FDL1,FDL2, and the individualpersistpartition file. - Click Start.
- Load the customized
-
- If using UnlockTool (Easiest Method):
Moto G35 5G XT2433 FRP Remove File
Password:- DroidGsmMotoG35XT2433
Step 3: Connect and Wipe:-
-
- While holding the hardware test point shorted to the ground, insert the USB cable connected to your PC.
- Release the short once the PC plays a connection sound and the software flashes a
Spreadtrum/Unisoc COM Portdetection notice. - The utility tool will interact with the system partition layout and trigger “Erasing FRP… OK” within seconds.
- Unplug the device, reconnect the battery terminal, put the back plate back on, and turn on the smartphone. Proceed through the configuration menus without an active network to toggle Setup Offline.