How to Fix Redmi 9A and 9C Boot Errors in UMT MTK Pro Custom Preloader & DA
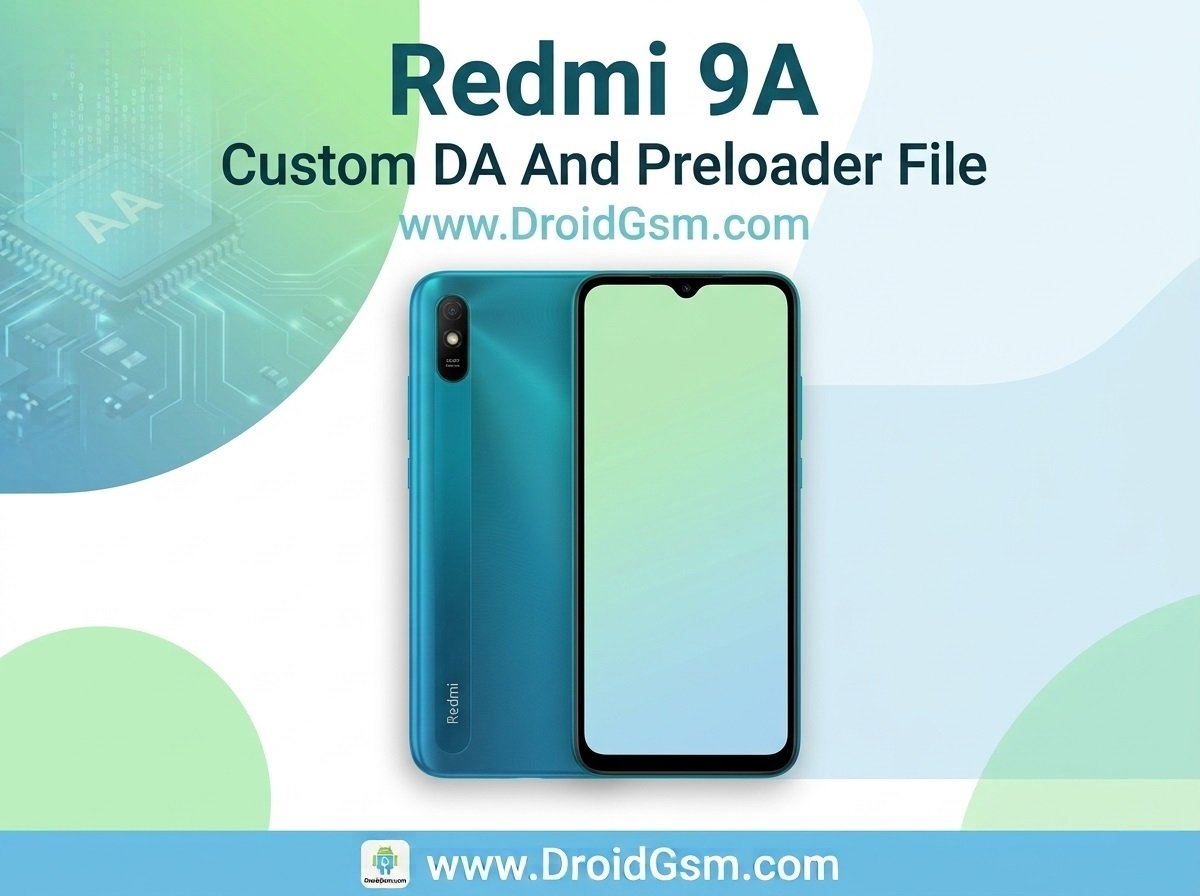
If you are trying to perform a factory reset, FRP bypass, or firmware flashing on the Redmi 9A or Redmi 9C using the UMT MTK Pro tool, you have likely run into the dreaded “Please Select Correct Preloader” or “DA_ERROR” loop or initializing storage failed. Due to recent high-security boot patches implemented by Xiaomi, the universal MediaTek configurations often fail to establish a stable BROM connection. To connect these devices successfully, you must use a custom DA (Download Agent) and Preloader file. This guide breaks down exactly why this happens and provides a step-by-step method to fix the security boot failure permanently.
Redmi 9A/9C Specifications:-
- Display: 6.53-inch HD+ Dot Drop display (1600 x 720 pixels) with a 20:9 aspect ratio.
- Processor: MediaTek Helio G25 octa-core processor (up to 2.0GHz).
- Battery: Massive 5,000 mAh battery supporting 10W charging via a Micro USB port.
- Camera: 13 MP AI rear camera with LED flash and a 5 MP selfie camera.
- Storage & RAM: Typically comes with 2GB or 3GB of RAM and 32GB of internal storage, expandable up to 512GB via a dedicated MicroSD card slot.
- OS: Shipped with MIUI 12 based on Android 10.
Why Do Redmi 9A & 9C Require Custom Files?
The Redmi 9A (codename: dandelion) and Redmi 9C (codename: angelica) run on budget-friendly MediaTek chipsets (MT6762G / MT6765). Historically, MTK-based tools could easily exploit the boot vulnerability using standard auto-detect algorithms.
However, Xiaomi’s updated security tables force the device to verify the cryptographic signature of the bootloader. If the tool sends a generic Download Agent
-
- The connection immediately drops.
- The tool displays an execution timeout or
Boot Error! Operation Failed. - The device falls back into a continuous charging loop instead of entering service mode.
By manually routing the connection through a verified Custom Preloader configuration, you bypass the Secure Boot restrictions without damaging the device hardware or bricking the partition tables.
Follow these strict sequential steps to ensure your tool recognizes the device safely:
- Prepare the Environment: Install the latest MediaTek USB drivers on your PC. Close all other software applications that might conflict with your COM port monitoring.
- Launch the Software: Open your UltimateMTK Pro interface (ensure you are using version 5.0 or newer to guarantee compatibility).
- Configure Options: Navigate to the main operational tab. Locate the Options/Setting column and untick the “Auto” box for Preloader selection.
- Load the Custom Files: Click on the directory browser. Load the specific
preloader_k62v1_64_bspfile into the Custom Preloader slot. - Execute Command: Select your target operation (e.g., Reset FRP or Format Userdata). Click Execute.
- Physical Connection: Power off the smartphone completely. Hold both Volume Up + Volume Down keys together and plug in the USB cable. Do not release the buttons until the log windows show
Sending Download Agent... OK