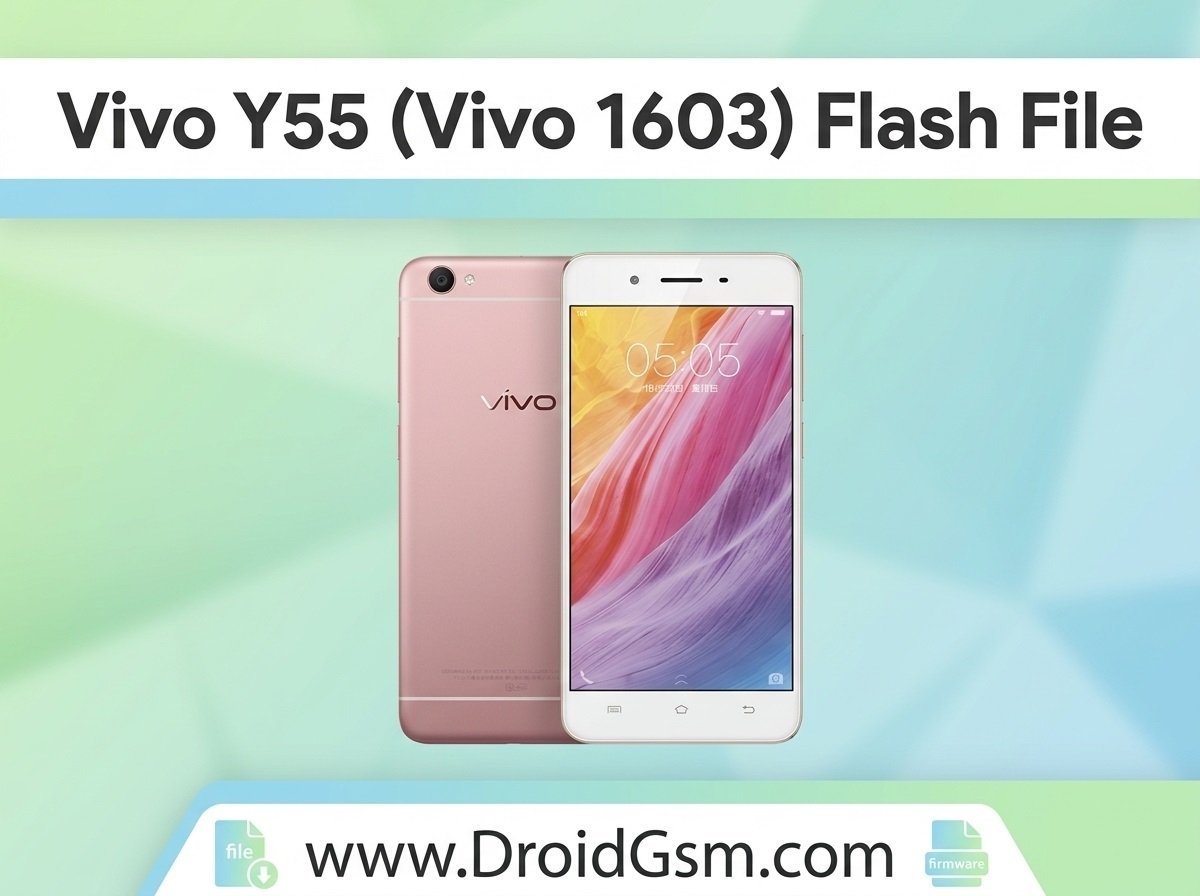
How To Flash Vivo Y55 (1603) With Official Flash File
Whether your phone is experiencing an automatic restart loop, stuck permanently on the Vivo logo, or facing a complete system crash (brick), installing a clean factory image will reset the device back to its default working state. Because the Vivo Y55 runs on a Qualcomm Snapdragon processor, you will need to utilize the official Qualcomm Flash Image Loader (QFIL) tool or a professional service dongle like the Ultimate Multi Tool (UMT) to write the new software onto the storage.
Vivo Y55 is a legacy, budget smartphone with the following core specs:-
- Display: 5.2-inch HD IPS LCD screen.
- Processor: Snapdragon 430 (1.4 GHz octa-core).
- Memory: 2GB RAM paired with 16GB storage (expandable up to 128GB).
- Cameras: 8 MP rear camera and a 5 MP front camera.
- Battery: 2,650 mAh capacity with Micro-USB charging.
- OS: Android 6.0 (Marshmallow) with Funtouch OS 2.6.
- Biometrics: No fingerprint scanner.
Before proceeding, understand that software flashing carries inherent risks:-
- Total Data Loss: This process will completely wipe all internal storage, settings, and apps.
- Battery Charge: Ensure the phone has at least 50% battery to prevent it from dying mid-process, which will permanently brick the hardware.
- Exact Model Matching: Download the stock firmware tailored exactly to your specific model variation (e.g., Vivo Y55, Y55L, or Y55s). Installing the wrong version will break the system partitioning.
Required Files & Tools to Download:-
You must prepare and download the following files on a Windows PC:
- Official Vivo Y55 Stock ROM (Flash File): Make sure it contains the raw program and patch XML files.
- Qualcomm USB Drivers: Required so your PC can communicate with the phone’s chipset.
- QFIL Tool (Qualcomm Flash Image Loader): The utility that communicates with the phone to write the firmware.
Step-by-Step Guide to Flashing the Vivo Y55
Step 1:- Install Drivers and Tools
- Extract the downloaded Qualcomm USB Driver package on your PC and run the installer.
- Download and install the latest setup of the QFIL Tool.
- Extract the Vivo Y55 Stock Firmware zip folder onto an easily accessible directory (like your C: drive or Desktop).
Step 2:- Configure the QFIL Tool
- Launch the QFIL application on your computer.
- Under the Select Build Type section, click on the Flat Build.
- Under Select Programmer, click Browse, navigate to your extracted firmware folder, and choose the
.mbnfile (usually namedprog_emmc_firehose_xxxx.mbn). - Click Load XML. A window will pop up automatically pointing to your firmware folder.
- Select the rawprogram0.xml file, followed immediately by selecting the patch0.xml file in the subsequent prompt.

Step 3:- Boot Vivo Y55 into EDL / Download Mode
To accept the firmware, your device needs to be in Emergency Download (EDL) mode.
- Power off your Vivo Y55 completely.
- d hold both the Volume Up and Volume Down buttons simultaneously.
- While holding down these keys, plug the micro-USB cable from your computer into the phone.
- Look at the top of the QFIL Tool. The “No Port Available” text should change to Qualcomm HS-USB QDLoader 9008 (COMXX). Release the volume buttons.
- If you want to watch video tutorial guide:- Watch Now
Step 4:- Initiate the Flashing Process
- Once the correct COM Port is recognized, verify all file paths look correct.
- Click the Download button located at the bottom of the tool to start writing the flash file.
- A progress bar will fill up. Do not disconnect the cable or touch the phone during this phase; doing so will corrupt the device storage.
Step 5:- Reboot and Setup
- Once completed, the status bar in QFIL will show a “Download Succeed” text log.
- Disconnect your Vivo Y55 from the computer.
- Hold down the Power button to boot up the device.
- The first boot can take between 5 to 10 minutes to properly set up the new operating system partitions. Once the welcome screen loads, proceed through the setup wizard.
Download QPST.2.7.438 Software
Qualcomm QFIL Flash Tool v2.0.3.5 With Qualcomm USB Driver