Flashing Guide:- Redmi A7 Pro 4G & POCO C81 Pro (Codename: Arctic)
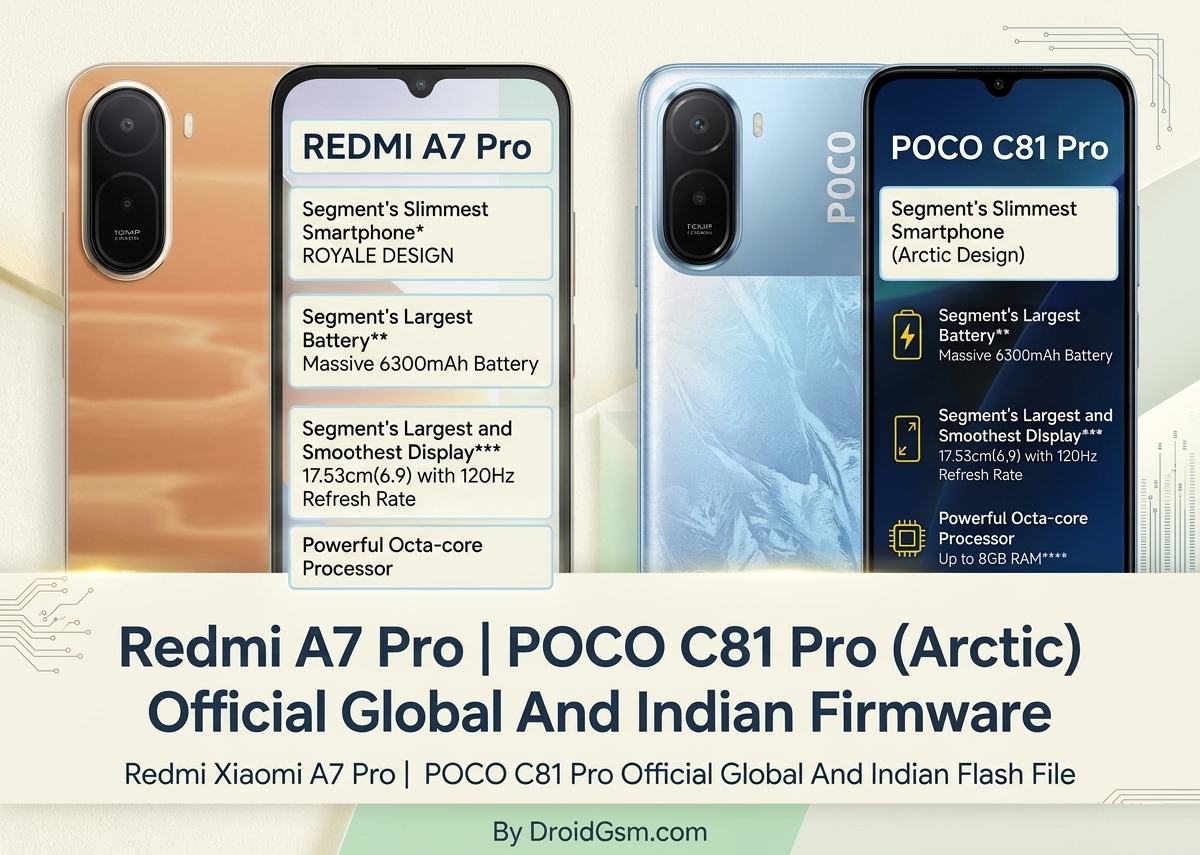
The Redmi A7 Pro 4G and POCO C81 Pro (Both of codename is “Arctic”) represent Xiaomi’s modern entry-level smartphone lineup. For technicians, developers, and advanced users, understanding the precise hardware architecture and official software restoration pathway is essential for maintaining these devices.
Product Overview & Hardware Architecture:-
The “Arctic” platform is built as an ultra-large, high-endurance budget daily driver. It shares identical motherboard schematics, internal chipsets, and physical layouts across both its Redmi and POCO branding, with the POCO C81 Pro serving as a direct twin variant.
Key Specifications
-
- Display:- Massive 6.9-inch HD+ (720 x 1600) IPS LCD screen with a fluid 120Hz refresh rate and up to 800 nits peak brightness.
- CPU Processor:- 12nm Octa-core Unisoc T7250 chipset paired with a Mali-G57 GPU.
- Memory & Storage:- 4GB LPDDR4X RAM (expandable via virtual RAM) accompanied by 64GB of onboard UFS 2.2 storage (expandable up to 2TB via a dedicated microSD card slot).
- Battery:- Giant 6,000 mAh (typical 6,300 mAh) battery supporting 15W wired type-C charging and reverse charging utility.
- Camera Module:- 13 MP AI Dual rear primary camera array paired with an 8 MP waterdrop-notch front-facing selfie camera.
- Sensors & Build:- Side-mounted fingerprint sensor, 3.5mm headphone jack, and an IP52 rating for dust and splash resistance.
- Operating System:- Ships with Android 16 customized by Xiaomi’s HyperOS 3 skin (promising 4 years of OS upgrades and 6 years of security patches).
A flash file (also called a Stock ROM) is the official operating system archive package provided directly by the factory. It contains compiled code files, recovery binaries, bootloaders, and native vendor partition layouts required to restore a phone back to its factory-fresh configuration.
Flashing a stock ROM is highly useful for:-
-
- Unbricking:- Fixing a device trapped in an infinite bootloop, system freeze, or “dead boot” state caused by corrupted code.
- Upgrading/Downgrading:- Transitioning manually across official system builds (e.g., reverting to a previous patch or moving up to a newer software version).
- System Cleanliness:- Clearing deep-rooted malware, fixing broken baseband/IMEI software parameters, or completely purging unauthorized system modifications to restore factory security standards.
Official Firmware Varieties:-
Depending on where the hardware was purchased, you will encounter different regional packages:
-
- Global ROM:- Built for international markets. It includes full multilingual translation matrices and native Google Mobile Services (GMS) integration.
- India ROM:- Custom-tailored specifically for Indian network carriers, localized feature configurations, and regulatory parameters.
- Europe ROM (EEA):- Structured to strictly comply with European Union privacy, data tracking laws, and localized network frequencies.
Step-by-Step Flashing Guide:-
Flashing a mobile device modifies deep root directories. Follow these requirements and directions strictly to prevent data loss or permanent hardware damage.
Before Flashing Pre-Requisites & Requirements:-
-
- Computer/Laptop Access:- A reliable Windows PC running a stable, clean operating system.
- Before Flash Data Backup:- Flashing will completely erase all internal storage files, photos, and applications. Ensure all data is saved externally.
- Power Check Battery Percentage:- Charge the device battery to at least 50% or higher to prevent an abrupt shutdown during the process.
- Use High-Quality USB Cable:- Use a certified USB Type-C cable connected directly to a stable USB 2.0/3.0 port on the computer.
- Unlocked Bootloader Must:- The phone’s bootloader must be explicitly unlocked through the official Xiaomi account binding sequence before proceeding with Fastboot utility tools.
Required Tools & Downloads:-
-
- Firmware Packages:- Download the verified Fastboot ROM matching your exact region.
- Flashing Engine:- Download and extract the official Xiaomi Mi Flash Tool or authorized manufacturer service utilities onto your desktop directory.
- Device Drivers:- Install the necessary Unisoc USB and Fastboot interface drivers to ensure your PC properly maps the device’s chipset platform.
OS3.0.7.0.WBVMIXM (Global) Stable Fastboot ROM Android 16
OS3.0.7.0.WBVEUXM (EEA) Stable Fastboot ROM Android 16
OS3.0.5.0.WBVRUXM (Russia) Stable Fastboot ROM Android 16
OS3.0.2.0.WBVINXM (India) Stable Fastboot ROM Android 16
OS3.0.3.0.WBVIDXM (Indonesia) Stable Fastboot ROM Android 16
Extract Files:-
Step 1:- Decompress the downloaded Fastboot stock firmware
.tgz or .zip file into a clean folder on your PC using tools like 7-Zip or WinRAR. Tip: Place the extracted folder directly into your root directory (e.g., C:\arctic_firmware) to avoid long path name string errors inside Windows.Step 2:- Open the Flashing Utility
Navigate into your extracted flash tool folder and launch the main utility program (
XiaoMiFlash.exe) by right-clicking it and choosing Run as Administrator.Step 3:- Map the Target Firmware
Inside the flashing program interface, click the Select or Load button. Browse your computer to choose the primary extracted folder containing your firmware image directories.
Step 4:- Boot into Fastboot Mode
-
- Turn off your Redmi A7 Pro or POCO C81 Pro completely.
- Simultaneously press and hold the Power Button and Volume Down Button.
- Release the buttons once you see the official Fastboot screen appear on the display.
Step 5:- Establish the PC Connection
Connect the phone to your computer using the USB cable. Go back to the desktop application interface and click Refresh. The software should populate a unique device ID string code in the device table row.
Step 6:- Configure and Execute
-
- At the bottom of the tool interface window, check your flashing configuration parameters. Select “Clean All” to perform a safe, thorough installation. (Avoid “Clean All and Lock” unless you are absolutely sure you want to lock the bootloader back up immediately).
- Click the Flash button located in the top-right toolbar section.
- Do not touch, move, or disconnect the device while the green progress bar tracks the update matrix.
Once finished, the tool status marker will read “Success” or “Flash Done”, and your device will automatically reboot into the clean, factory setup wizard environment.