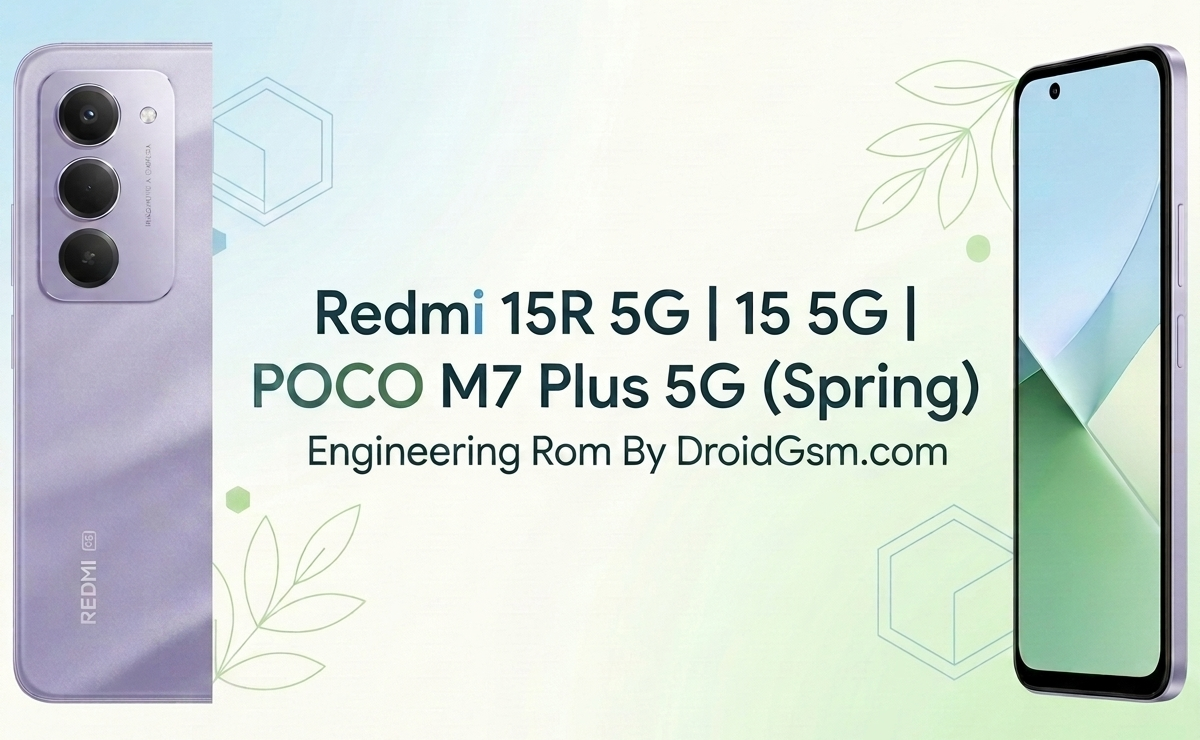
The Xiaomi Redmi 15R 5G | 15 5G | POCO M7 Plus 5G “Spring” Platform Repair Guide: Engineering ROM & Flashing Manual
Target Devices:- Redmi 15R 5G | Redmi 15 5G | POCO M7 Plus 5G
Hardware Codename:- Spring
Hardware Codename:- Spring
Other Model Names:- 25057RN09G, 25057RN09E, 25057RN09I, 25057PC09I
The Redmi 15R 5G (codename: spring) is a budget-tier endurance smartphone. It stands out by pairing a highly efficient Qualcomm Snapdragon processor with an enormous battery and a high-refresh display.
Specifications:-
-
- Codename:- spring
- Processor:-Qualcomm SM6375 Snapdragon 6s Gen 3 5G (6nm) chipset.
- Display:- Massive 6.9-inch FHD+ IPS LCD, ultra-smooth 144Hz refresh rate.
-
Sensors:- Fingerprint (side-mounted), accelerometer, compass Virtual proximity sensing
- Battery:- Enormous 7,000 mAh cell.
- Charging:- 33W fast charging with 18W wired reverse charging support.
- Storage & RAM:- 6GB / 8GB LPDDR4X RAM paired with 128GB / 256GB UFS 2.2 internal storage.
- Rear Camera:- 50MP AI Dual Camera system featuring an aerospace-grade metal camera module.
- Front Camera:- 8MP sensor for selfies and video calls.
- Software:- Ships with Xiaomi HyperOS built on Android.
- Durability:- Rated IP64 for strong dust resistance and splash protection.
Understanding the Engineering ROM (Factory Firmware)
An Engineering ROM (also known as a Eng ROM) is a specialized, stripped-down operating system used by engineers during a device’s manufacturing and testing phases. Unlike commercial HyperOS or MIUI software, it lacks standard user-facing features, security blocks, and visual elements.
Why Technicians Need the Engineering ROM (ENG Rom):-
-
- Unbricking Dead Devices:- It can revive smartphones stuck in a hard brick state (no screen response, only detected via hardware ports).
- Fixing System Loops:- Overcomes persistent bootloops caused by corrupted system partition tables or broken updates.
- Hardware Calibration:- Restores basic functions and exposes testing menus to calibrate proximity sensors, cameras, and display touch matrices.
- IMEI & Baseband Repair:- Opens deep system ports needed to rewrite or restore lost baseband data or corrupt Modemst1, Modemst2 partitions after severe software damage.
Essential Pre-Flashing Requirements:-
Before initiating any low-level flashing procedures on the Xiaomi Redmi Spring platform, ensure the following checklist is strictly met to prevent irreversible hardware damage (hard-bricking):-
-
- Backup Partition Data:- If the device still boots, back up the Modemst1, Modemst2 partitions immediately. These hold your unique IMEI and network calibration keys.
- Battery Check:- Ensure the device battery is charged to at least 50% to avoid a mid-process power cutoff.
- High-Quality Cable:- Use a reliable USB-C cable connected directly to a USB 2.0 port on your computer’s motherboard (avoid external USB hubs).
- Driver Installation:- Install the correct chipset drivers (MediaTek or Qualcomm, depending on the exact SoC variants deployed on the platform) alongside the Xiaomi USB Driver package.
Step-by-Step Flashing Guide:-
Follow these steps carefully to flash the Engineering ROM onto the device.
Step 1: Prepare the Software Environment
-
- Download the correct Xiaomi Flash Tool (MiFlash) version to your PC.
- Download the official (Codename:- Spring) Engineering ROM package. Extract the contents directly to your local drive C: (e.g.,
C:\spring_eng_rom\). Keep paths short and avoid spaces in folder names to prevent parsing errors.
Step 2: Boot the Device into Flashing Mode
Depending on the current state of the device, choose one of these methods:
-
- Fastboot Mode (Unlocked Bootloaders Only):- Turn off the phone. Hold Volume Down + Power simultaneously until the Fastboot logo appears. Connect it to the PC.
- EDL / EDL-Brom Mode (For Locked/Bricked Devices):- Turn off the phone completely. Hold both Volume Up + Volume Down buttons while plugging in the USB cable. If the device is hard-bricked, you may need to use a specialized EDL cable or short the hardware Test Points on the motherboard to force the PC to recognize the flashing port.
Step 3: Configure MiFlash
-
- Open
MiFlash.exeas an administrator. - Click the Select button and navigate to your extracted Engineering ROM folder (select the main folder containing the
imagesdirectory). - Click Refresh. Your device should appear as a logged COM port or a serial string under the device list.
- Crucial Safety Configuration: At the bottom of the MiFlash window, select “Clean All” (
flash_all.bat). - ⚠️ WARNING: Do NOT select “Clean All and Lock”. Locking the bootloader while flashing a custom factory Engineering ROM will instantly hard-brick the smartphone.
- Open
Password:- DroidGsm.comRedmi15RSpring
Execute the Flash Process:-
-
- Click the Flash button.
- Monitor the progress bar. The flashing process typically takes between 300 to 600 seconds.
- Once finished, the status column will display a green “Success” or “Result: Pass” message. The phone will automatically reboot into the basic Factory Engineering interface.
After Flash Troubleshooting & Recovery:-
Once the engineering tasks, hardware diagnostics, or partition repairs are completed inside the Eng ROM, you must return the phone to consumer-ready software.
Transitioning Back to Global/Indian Stock Firmware
-
- Download the official stable HyperOS/MIUI Fastboot ROM tailored specifically for your exact commercial model variants (Redmi 15R 5G, Redmi 15 5G, or POCO M7 Plus 5G).
- Put the phone back into Fastboot mode.
- Load the official stock firmware package into the MiFlash tool.
- Execute the flash using “Clean All” to overwrite the Engineering interface. Once successful, your phone will boot into the standard, secure setup wizard.